Saturday, June 13, 2015

The Purge: Makeup Bags

This might seems a bit arbitrary and silly, but I have a billion and one makeup bags thanks to Ipsy and a few other places. I think a lot of these are super cute, but I rarely use them, so I thought I should go through them and give them away to friends or use them to hold small gifts.

Starting off with my 2 tube shaped bags, I know I'm gonna toss the pink one. I got them both from Ipsy a while ago. The pattern on the other is so cute, and I love the colors. The pink bag is just too plain for me.


I've got a few textured bags in the past from Ipsy. I'm only tossing one from this section: the gold one. It's the only bag I have with a handle, but I just don't see myself actually putting things in this and carrying it around.


This next group of bags all have some sort of print on them. I'm actually getting rid of 3 of these. The only 2 I'm keeping are the big one with the polka dots and the white one with the abstract design. I hate the blue one. I think the pattern is really ugly. The other 2 just aren't that exciting to me.


My next 4 all have some sort of natural pattern on them. I can't part with any of these. These are my favorite kind of pattern.


I have 4 bags from Lip Monthly. 2 are identical and another is super cute and the last is really plain. I'm keeping one of the blue bags, and I'm keeping the plain one. I would keep the orange one, but the zipper broke and I can't figure out how to fix it.


I have 4 more patterened bags. One of these I drew on. It was my very first Ipsy bag from back in 2013. I can't get rid of it. One of my favorites is the purple bag, so I'll be keeping it too. The glitter bag and the one with the chevron pattern can go. All that glitter drives me nuts and the other is just not super sturdy.


This last group of bags are just kind of thrown together. One of my more recent Ipsy bags is in here, and I just adore it. The bag with studs is the only kind I have like it. There isn't anything wrong with the other 3, I just think they're really plain, so they can go.


Starting Number: 28
Ending Number: 16

I'm tossing almost half of these! I did so well! I went into this thinking I wanted to only have half as many, and I almost made that happen. Thanks for stopping by!

Kiss, Kiss.
-A

Thursday, June 11, 2015

Yet Another elf Haul

I truly, truly can't help myself when it comes to buying elf products. They just have the best sales on their already super cheap makeup and beauty products. There was a 40% off sale recently and I had a code for free shipping. I just got a few basic things that either I really wanted to try that are new, things that I really like, or tools. Let's get rolling!

Starting with the boring stuff, I got 4 of the Custom Compacts. These were stupid cheap and if you pop out the little plastic part, you can fit anything in a pan into these babies.


To go in these, I picked up 2 more of their Custom Eyeshadows. One is in the shade Pink Ice. The other is Dusk. Pink Ice looks nothing like the pictures online, but it is really pretty, nonetheless.


I pickup up 4 brushes, 3 of which are new. I got the Eye Crease Brush, Countouring Brush, Eyebrow Duo Brush, and the Blending Brush. I love elf brushes. They're super cheap and work really well.


I finally bought the Lip Exfoliator after seeing Emily Noel on YouTube rave about hers. I've been eyeing this for the longest time, and I finally caved and bought it. It better be as good as everyone says it is.


The very last thing I bought was a pack of the Makeup Remover Cleansing Cloths. You get 20 to a pack, and you can't beat that for only 3 bucks!


That's everything for this haul. I know I will be buying more elf products very soon, so check back in here, or follow me on Instagram for regular updates and more.

Kiss, Kiss.
-A

Tuesday, June 9, 2015

Midnight Manis: Burgundy & Grey

I am recreating a super old mani from ES Nails LA on Instagram. I have no clue when this went up on their page, but I know I've had the screenshot forever. The colors are super freaking pretty to me. These aren't colors I would think to put together, and I think that's why I like it so much.

What I Used:
L'Oréal One Stop Base Coat - OPI Casino Royale - Sally Hansen Complete Salon Manicure Greige - Julep Andrea - Sally Hansen No Chip Top Coat - Wet N Wild Wild Shine Matte Top Coat - Striping Tape - elf Small Smudge Brush - Acetone - CND Solar Oil

The original photo:


My recreation:


Kiss, Kiss.
-A

Sunday, June 7, 2015

Friday Night Face 6.5.15

Welcome back to week 3 of my Friday Night Face! I'm so glad you could join me here in my tiny corner or the internet, and help me feed my addiction to makeup, beauty, and all things pretty. This week's look is very light on the eyes. I didn't have a ton of time to get ready before I had to leave.

Base


On my lips, I wore my usual Sally Hansen lip balm. I'm going to stop mentioning this eventually, I swear. For primer, I used the SheerCover Base Perfector. Underneath all that, I spritzed my face with Jaqua Rose Bouquet Hydrating Facial Mist for some extra moisture.

Eyes


Super simple on the eyes today, like I said. With my Real Techniques Fine Liner Brush, I applied some thick graphic liner. I used the Starlooks Longwear Eyeliner Pot in Black Hole. This is literally the blackest, creamiest, most pigmented eyeliner I have ever used. It's amazing. In my waterline is the LA Colors Eyeliner from my Project Mini Pan. On both my upper and lower lashes is Origins Ginzing Mascara.

Face


My usual Maybelline Fit Me foundation went on all over the face, but I only used a thin layer this time and blended with my Ailunce flat top kabuki. For concealer, I brought out an old favorite: the Maybelline Fit Me. I aplied this with the applicater in the typical highlight shape under my eyes, down the bridge of my nose, the center of my forehead, my cupid's bow, and chin. I used my finger to blend.


For my contour, I put the Black Radiance Concealer Stick in 8003 in the hollows of my cheeks. I also applied this on the sides of my nose and the perimeter of my forehead. I used my elf Small Stipple Brush to blend. I set my undereye concealer with the elf High Definition Undereye Setting Powder and a mini kabuki brush from SheerCover. I set the rest of my face with the City Color Mineral Powder in Mocha to Mahogany with a Long Kabuki Brush from Icing.


With a random blush brush, I applied Wet N Wild's Heather Silk to my cheeks. I used elf Baked Highlight in Blush Gems to highlight the face. I hit the high points of my cheeks, the bridge of my nose, the center of my forehead, my cupid's bow, and my chin using a generic fan brush.

Brows


I mixed it up on my brows today. I forgot I had this Universal Brow Pencil from Ofra, so I used it to fill in my brows today. I brushed the product through with a spoolie, and then to set them, I brush them through with the City Color Bold Brow Eyebrow Gel.

Lips


On top of my lip balm went the Cailyn Art Touch Tinted Lip Gloss in the shade 08 Love Affair.


That completes my look for this week! Like I said, I went really simple on the eyes today and really just worked on a soft glow for the face. Stop by next week for a very special edition to this series!

Kiss, Kiss.
-A

Friday, June 5, 2015

BH Cosmetics Galaxy Chic Baked Eyeshadow Palette

Can I just say how much I love BH Cosmetics? They always have great deals and amazing products. I finally got my hands on the Galaxy Chic Palette and I'm finally getting to share it with you guys.


Let's start with the pricing. The original price of this palette is 19.95$, which is already a great price for the quality of shadows and the number you get. BH always has sales running, so you could get this palette as low as 9.95$.


One thing that I really like about this palette is how the colors are grouped together. You could used each row, column, or pretty much any group of 3 or 6 shades that are near each other to get a really great eyeshadow look. 


The packaging is so freaking cute! I love the warm magenta mixed with the cool deep purple on the cover. It even comes with a really good sized mirror. They nailed the names of the shadows. They pretty much got the names and the shadows matched perfectly.


You get 18 huge baked shadows in this palette. Half are marbled, and the other half are just one single shade. They're also grouped into different color schemes that all match really well. It won't take much thought to figure out how to create a look with this palette.


The pigmentation on these is crazy! I didn't use any sort of primer when doing these swatches, and they still came out incredibly well. My favorite flat shades are Aphrodite, Mars, and Neptune. My favorite marbled shades are Saturn, Mercury, and Earth. What are yours?


Kiss, Kiss.
-A

Wednesday, June 3, 2015

Project Mini Pan

I can't believe I've never actually done one of these Project Pan challenges. I see them all over YouTube, and I love those kinds of videos. Just like with my declutter series, they give me the motivation to reduce the size of my collection. I honestly really hate abandoning products, so it is easier for me to just use them up. I have 5 products here that I want to finish in the next 6 weeks. I will do a 3 week update and then a final update. Here's what I've got:

Clean & Clear Deep Cleaning Astringent
This is my go-to warm weather toner. I use it both morning and night to get rid of any access oils. I bought this last summer and only used about a third of it. I've used a bit more since then, but I really just want to get it out of my collection so that I can say I finished it. I'm totally one of those. I have about 2/5 of this left.


Freeman Facial Clay Mask - Avocado & Oatmeal
This is such a great mask. It is seriously good. My skin feels so good after I use it, and I just really love clay masks. The reason I want to finish this off is just because I have so many masks that I need to get through, including another one of these that I bought on accident. It looks like I'm about a third through this.


Maybelline Fit Me Foundation - 320 Honey Beige
This is oldest foundation that I own. I know I've mentioned that like a zillion times before, but that's exactly why I wanna get rid of it. I am sooooo close to being done with this foundation. I might have half an in of product left in the bottle. I have been mixing this with a really mattifying foundation lately, but I will continue to use it that way and hopefully finish it in the next 6 weeks.


SheerCover Base Perfector Primer
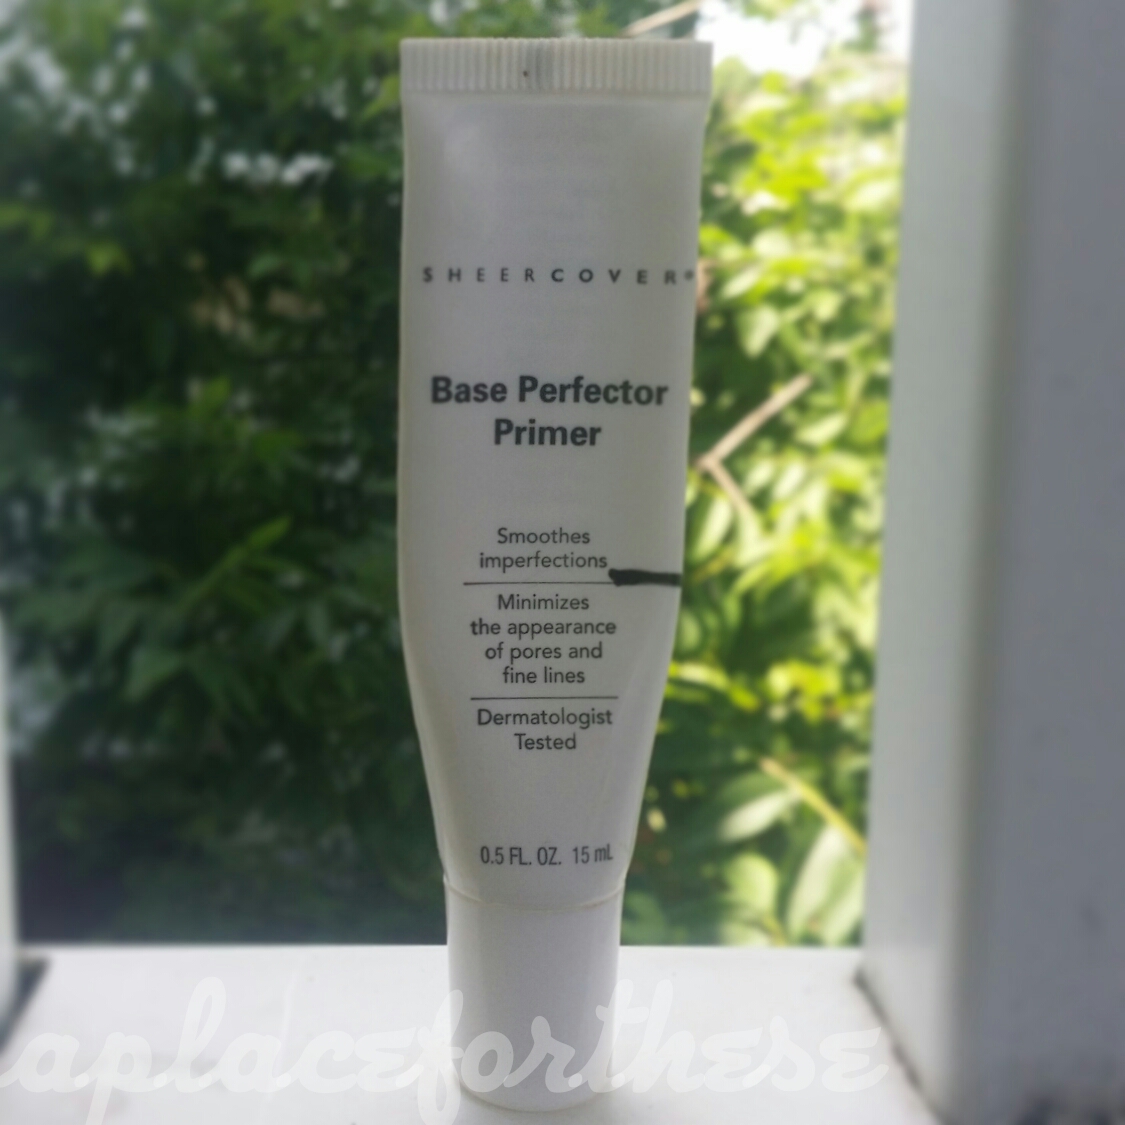
I have 2 more of these. 2 more! I love this primer. This is my second full size one I've gone through. No matter how many primers I have, I always end up going to this one when I don't want to think about anything. I'm just over halfway done with this. I feel like this one will take some effort to get through.


LA Colors Eyeliner/ Brow Pencil
I honestly couldn't tell you how long I've had this eye pencil, but it's still isn't dried out, and I have like 3 other stubs of a black eyeliner, so I need to get rid of them. There isn't anything super special about it other than it doesn't clump in my inner corner when I wear it. I will gauge progress with this one based on how letters I can still see.


I hope I can actually finish these in the time I've given myself. That seems doable, right?

Kiss, Kiss.
-A
Monday, June 1, 2015

Friday Night Face 5.29.15

Welcome back for round 2 of my Friday Night Face. Just so you guys know, I do tend to use the exact same base products until I finish them. So unless I switch it up, I may or may not put up my base products at my own discretion. The same goes for my brows. Click here to see what I wore last week. Anyways, here's what I put on my fave!


Base


Just the same as before, I applied the Base Perfector to the entirety of my face and then applied the Pixi primer just to my cheeks. To moisturize my lips, I used the Sally Hansen Vita-C Lip Plumper, and to prime for shadows, I went in with my trusty Shadow Insurance.

Eyes


On top of my primer, I put the City Color Jumbo Eye Pencil in White to help really make these eyeshadows pop. For my lid, I used my Coastal Scents Revealed 2 palette. I first ran a cool toned brown (1) through my crease as my transition shade. For that I used a Luxie Tapered Blending Brush. I applied a soft shimmery mauve (2) all over the moving lid with a no name flat shader brush. For my outter corner I used my elf Blending Eye Brush to apply the black and purple shimmer shadow (3) to my outter V and lightly up into my crease. With that same Luxie brush, I smoked out the upper crease with a burgundy color (4). I smudged a deeper burgundy shade (5) along my lower lash line. 


With my elf Liquid Eyeliner, I applied a thin line along my lashes and made a small wing. One coat of the Origins Ginzing Mascara followed by one coat of the Urban Decay Perversion Mascara finished off my top lashes. On my lower lashes, I applied my Wet N Wild Mega Length Mascara.


Face


Underneath my eyes went the darker side of the SheerCover Duo Concealer. I just used my fingers to blend. I set that with the amazing elf High Definition Undereye Setting Powder and a mini kabuki brush from SheerCover. Once again, I mixed together the elf Acne Fighting Foundation with the Maybelline Fit me Foundation, and used the elf Small Stipple Brush to apply. 


I set my entire face with the NYC Smooth Skin Loose Setting Powder and a Mary Kay Mineral Foundation Brush. I keep it in that old SheerCover Mineral Foundation container. On my cheeks is the City Color Sunkissed Trio in Tan. I used all three pans for this look. I applied the bronzer with an angled powder brush from BH Cosmetics, the blush with a powder brush from SheerCover, and the highlighter with a no name fan brush. 

Brows


Using a disposable spoolie, I brushed through my brows. With the small rounded flat brush shown, I applied the elf Cream Eyeliner in Coffee to line to bottom of my brows and fill in the tail. Over that went the Studio M eyeshadow to fill in the rest of the brow. I went over them with the spoolie once more to blend everything together. 

Lips


I tried out the new Urban Decay Ozone Lip Liner and filled in the entirety of my lips. Over that I applied 2 even coats of the LA Girl Glazed Lip Paint in Blushing. I have a full review on these coming up soon. To apply this kind of lippie, I used my Crown Brush Lip Brush. 


That completes this weeks Friday Night Face! I hope this was fun for you guys. Come back soon and see me again. 

Kiss, Kiss.
-A